RTP Streaming Guide for Nodezilla
This is preliminary documentation and software. Please report any problems or questions directly to the Contact address.
Table Of Contents
Introduction to the streaming module
What is RTP ?
What is the Nodezilla streaming module ?
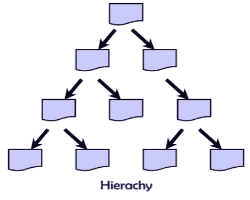
With hierarchical streaming, you only need X Kbps (but of course bigger is better, as always) to feed an unlimited number of clients. This is achieved by making clients become servers as needed. If client A connects to the streaming server (you for instance), it will start to receive the stream, occupying your upload bandwidth. But his upload bandwidth can also be used to feed someone else (or several clients, if his upload bandwidth is big enough), so another client can connect to him ... and so on.
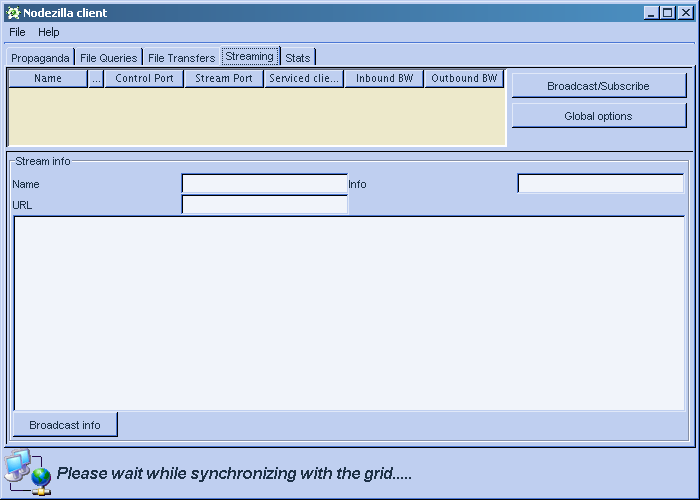
How do I use it ?
- Nodezilla Network Agent 0.4.2 or higher
- The NZ Java client 0.5.3 or higher (should be installed with the Network Agent)
- A RTP encoder software (If you don't have one, I encourage you to try Videolan)
- A RTP streaming client (Videolan does it too)
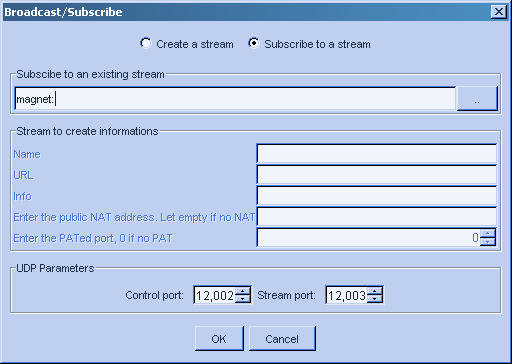
I want to create a channel
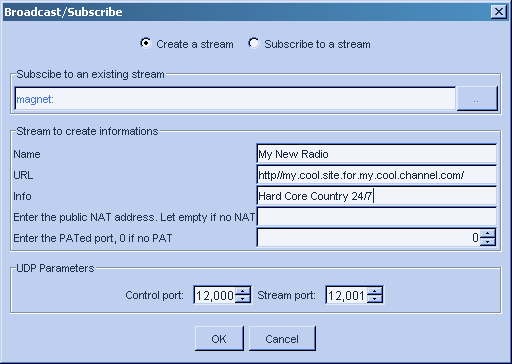
If you're using NAT or PAT on your private LAN, then you can use the corresponding fields in this dialog box to set your public IP and PATed UDP port.
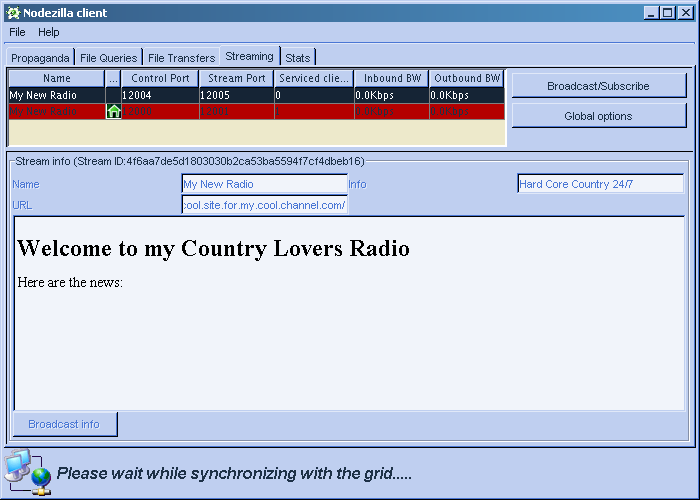
The UDP Parameters let you specify the two UDP ports where the RTP module will listen to on the machine where the Nodezilla Network Agent is running. Be sure that if you create multiple channels, they all use differents ports, and that these ports are not already used by other services on your computer. Now click OK, and if everything goes fine, you will end up with your new stream created: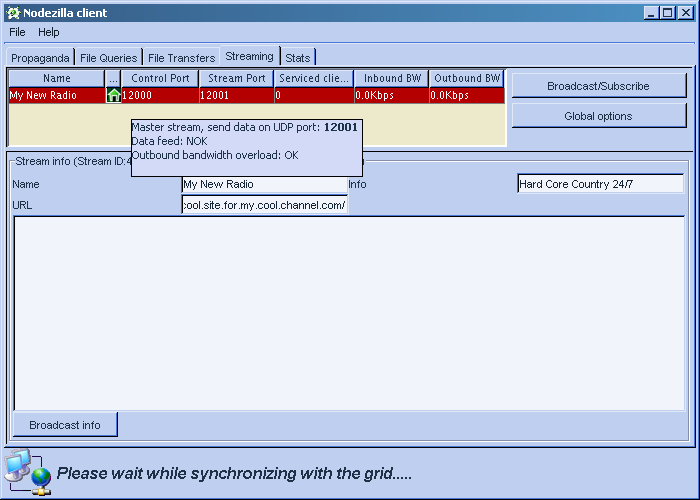
Let's fix this. We need to feed data to our relay, this is achieved using a RTP stream maker. In this guide we will use Videolan. Open Videolan, and select File->Streaming Wizard, you will end with this dialog:

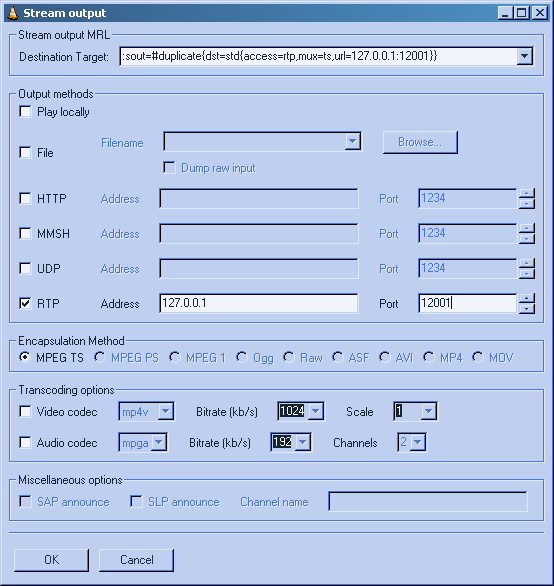
You can use the Videolan transcoding options to reencode on-the-fly your streams (i.e. reencode full quality Xvid stream to low bandwidth mpeg1 stream for instance). See the Videolan documentation for help.
You can then click Start and see what happens in the Nodezilla Client, your master stream shouldn't be red anymore, and stats should be updated with current bandwidth. You will then need to advertise your stream through it's Magnet Link (which is a permanent link, see StreamID on the Advanced chapter for details). Right-click on your newly created stream, and select Copy as Magnet Link to retrieve the magnet on your clipboard. You can then send it to anyone, or publish it through web. A typical magnet looks like this:magnet:?xt=urn:sha1:4f6aa7de5d1803030b2ca53ba5594f7cf4dbeb16&dn=My+New+Radio
You can also change (only on streams you created) the metainformatons (name, url, info, and metadata) and propagate updates by clicking the
Broadcast Info button.
The metadata panel supports basic html syntax.
Now how to listen/watch your newly created Streams ?Setting up Global Options
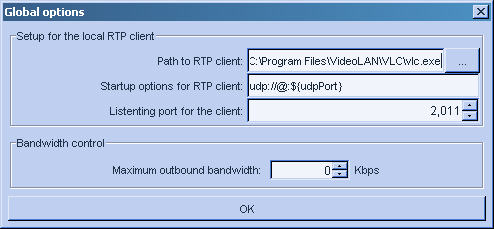
${udpPort} can be used in the command line options, it will be replaced by the specified UDP port.
You can also specify a maximum upload bandwidth that will be used by ALL relayed (master and not master) streams, 0 means no
limits.
I want to listen/watch a channel
From now on, you can also accept clients for the stream you just subscribed, depending on your available upload bandwidth.
You can then right click on it, and select the Listen option in the contextual menu. If your Global Options are configured properly, your RTP client should start and you should be able to listen to the stream.Advanced topics
What are Control Port/Stream Port
- The Control Port: It is used by the streaming core to communicate with other modules to exchange keep alive, peer informations, metadata update ... You will probably never have to deal with this port.
- The Stream Port: It is used to received RTP data. Received data will be relayed to all connected peers. This is this port that you must use in your RTP maker software to send RTP data to the streaming module.
What is this StreamID ?
If you want to be able to restore all your created streams keeping their StreamID after a disk crash for instance, be sure to
backup your evl_data/rtpstream directory, as it holds your RSA keys.
Are my created channels persistant ?
How about anonymity ?
But, this doesn't mean that this compromise the Grid Anonymity, i.e. if you use both FileSharing service and Streaming Service, you still be anonymous on FileSharing, streaming objects published on the grid especially use different RSA keys from your node keys to avoid linking IP to IDs.